

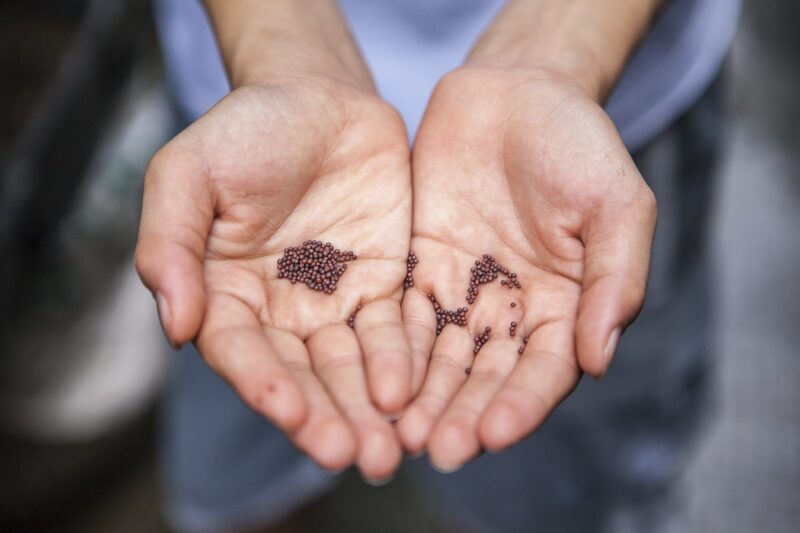
Germination is the beginning of a plant’s life and the process of getting seeds to sprout. Within the seed is an entire young plant waiting to be “awakened” from its slumber once it receives enough moisture. From that point forward, the flora will depend on the outside environment for further nourishment.
Healthy seeds can only go as far as the grower will take them. One needs to be resourceful, careful, and meticulous even during the germination process.
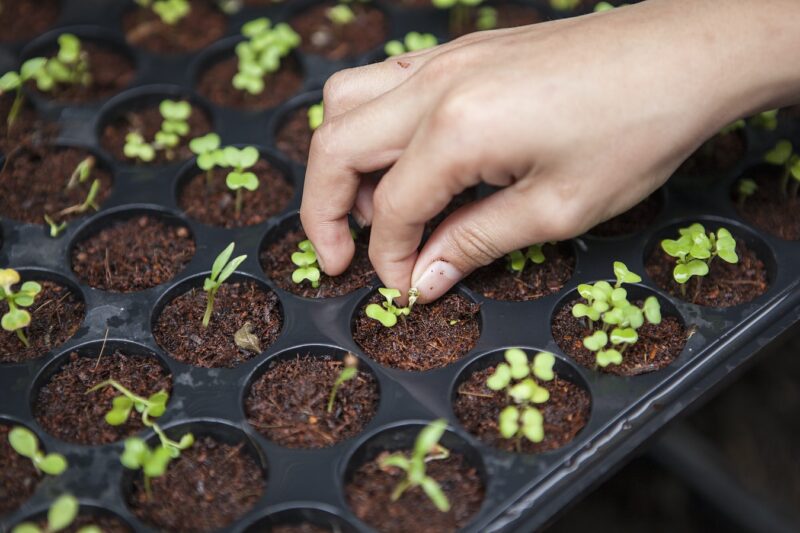
1. Utilize Starter Cubes and Seedling Plugs
Making use of starter cubes and seedling plugs are one of the easiest germinating methods around. Each cube or plug has a pre-made hole to place the seedling in.
There are a variety of kinds and brands made available for the growers. All one needs to do is weigh the pros and cons of each known brand before selecting the best cube or plug.
-
Rapid Rooters
Using Rapid Rooters is advantageous as it is suitable for all growing methods—from soil, hydroponics, to coco coir. Also, the product is readily available in the market. A single package contains enough to rear almost 50 seeds. Do note, however, that Rapid Rooters is not suitable for cultivators only aiming to grow a few seedlings. Unused cubes will dry up in a week or two, rendering them useless.
Aside from the regular plugs, there are 2 other variants growers may consider using. One is the Rapid Rooters Mat. Unlike the regular round-bottom plugs, the mat comes in rectangular, flat-bottom packages, enabling them to stand alone. It can be broken off into cubes, optimal for germinating in shallow pools of water.
The second is the Rapid Rooters Tray. It is different from the prior as its tray sections off each slot, separating them from one another. The seeds sit in the tray with water until their roots are well-formed and ready for transplanting. A standard plate contains 50 seed slots.
-
Rockwool Cubes
It is mineral wool made from volcanic rock and other materials like basalt and limestone. The ingredients are molten and quickly spun into threads before being compacted and cut into cubes.
Growers who patronize Rockwool cubes are often those who use hydroponic set-up. The cubes hold a lot of moisture and are resistant to mold. On top of that, the product is relatively cheap.
Of course, there are drawbacks in using Rockwool Cubes as well. First, it has a detrimental effect on the environment as it is not of natural materials. Second, the product is also dangerous to one’s health. Pieces of Rockwool and dust can get into the eyes and mouth and can even be inhaled. Lastly, the merchandise has poor germination rates possibly due to its high pH level. Growers must rinse the cubes in pHed water, soaking them overnight before use.
-
Instant Pellets
Although somewhat similar, Jiffy Pellets produce better yields than Rockwool cubes. Additionally, it is unsuitable for a hydroponic set-up but is easier to use in soil or coco coir. Another advantage of using the product is that it can be stored for a long time.
Before using, soak the pellets in warm water first as the pellets are in dry, condensed form. It helps them expand in size.
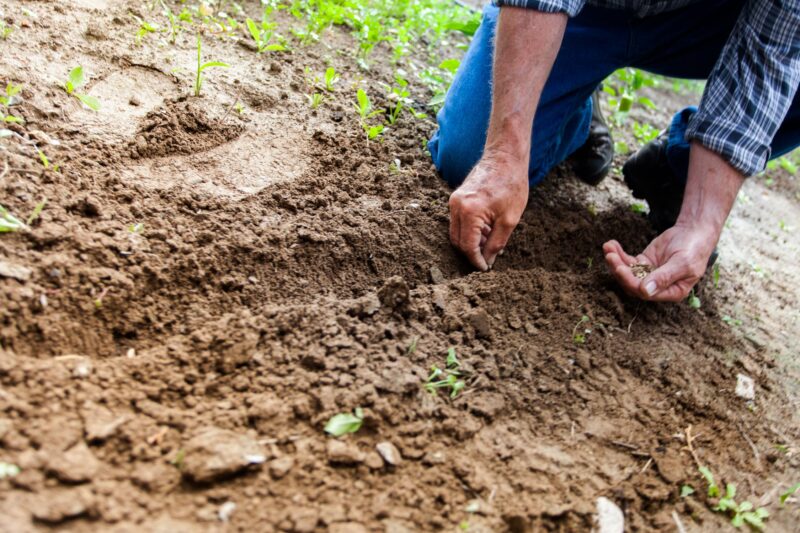
2. Directly Plant Seedlings in the Soil
Planting seeds directly in the soil is the most common, most natural, and most successful method of germinating marijuana seeds. The use of this growing medium spares seedlings the shock of getting transferred. It also helps protect the fragile taproot of the seedlings.
Before planting the seeds into the soil, make sure that it is of the right type. Using mildly fertilized soil with a pH level of approximately 6 is appropriate. Do not add additional nutrients, as a well-balanced soil has enough for the seeds to survive in.
To prepare the soil, push a finger into the ground to create a hole that is up to at least 1.3 cm. Place the seed in the hole before covering it with more soil. Keep the medium moist by using a plant sprayer.
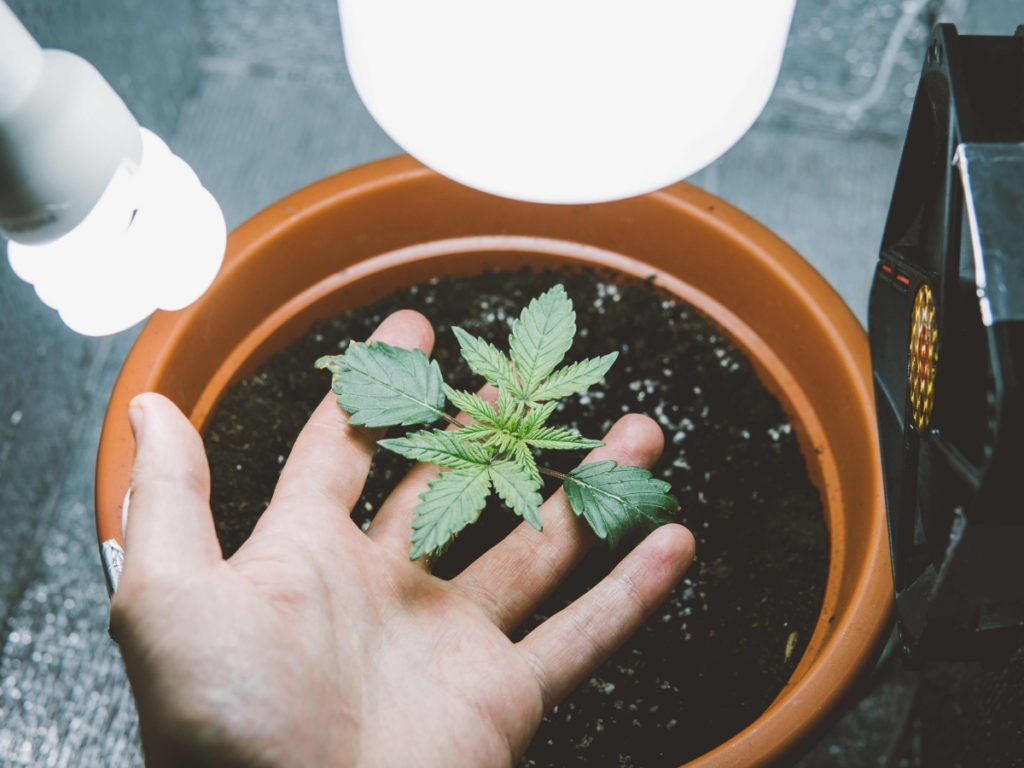
3. The Use of Germination Station
Some growers simulate optimal conditions by creating a germination station with the use of easy to obtain materials. DIY growing crafts do not cost much and are known to produce big yields. Another advantage is that it allows the easy to transfer of the new sprouts into their next mediums.
An example of a germination station is a plastic dome over a plate or tray of seedlings placed on top of a heating pad. It creates a humid and warm environment—perfect for helping seedlings sprout.
4. Soak Seeds in Water
Soaking seeds in water help seeds break from their hard exteriors. Simply fill a glass (preferably clear) with slightly warm tap water of around 18° C. Then, leave the seeds submerged for no longer than 24 to 32 hours.
The method is useful for seeds with hard shells or ones that have aged for over a few years. Often, viable seeds float first, then eventually dip to the bottom of the glass.
5. Paper Towel Method
With this technique, the seeds must be laid on damp paper towels or cotton pads. The material must stay moist at all times but never overly wet. If it dries out, add a few drops of water to moisten it up again. Also use a plate or a bowl as cover to keep the environment humid and protect the seeds from being agitated.
The use of non-porous textile is essential as well. Otherwise, the roots may become entangled in the pores, making the transfer of the germinated seedlings into the medium difficult.
Conclusion
Growing seeds in soil is the most effective, but there are several other techniques growers can use. Germinating does not have to be a daunting task. It is okay to test out products and find the shoe that fits. With enough patience, capable hands, and apt method, seedlings should sprout just right.


