
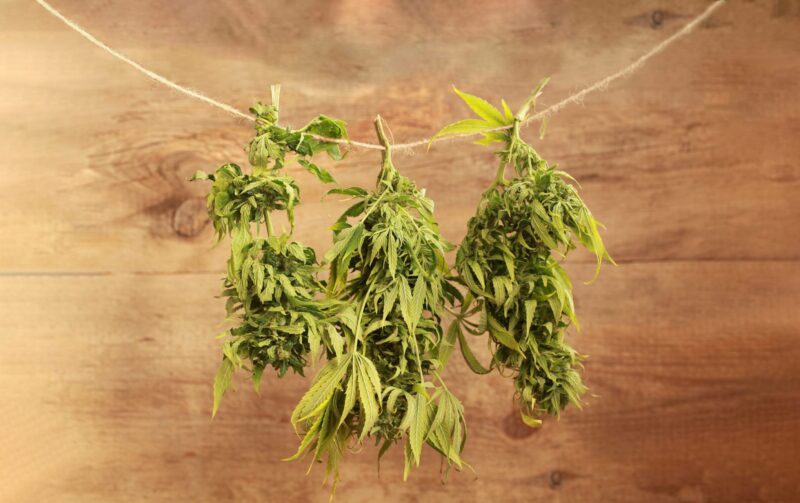
One of the most important post-harvest processes is curing cannabis. It relates to properly storing weed to release all the excess moisture from the substance finally. The chemical profile stays the same even though all the chlorophyll agents are out of the marijuana contents. This way the user gets dried weed of the highest quality that is friendly for long-term storage and intake.
Curing in the context of cannabis is applicable both for weed people use for fun and for medical purposes. It goes without saying that medical marijuana is released in the form of injection liquids and pills. But its starting format before any treatment is dried weed. To find well-packed and high-level cannabis for healthcare and other purposes, explore reliable online platforms that simplify your search (like Cannrank).
Speaking about all the peculiarities of the curing process, various factors and aspects should be taken into account. For example, all the required terms should be met. The most optimal longevity is about 2 weeks. It is better to arrange the curing process for longer periods. Do not limit this procedure not to face low-quality final products. Other helpful tips will come in handy if you are interested in qualitative weed.
Tips for Better Curing Cannabis
The low-quality weed is often concerning poorly dried. That is why the curing process should take place according to all the required norms. There are two main stages of this procedure. Drying is the initial phase that is responsible for the weed quality and its qualitative storage further. The second stage is jarring. It means that dried weed is put into jars or other boxes like totes, etc. This way the main phase of curing takes place.
If you want to get an excellent final product, try to follow some tips we are going to tell you about. This way you will prolong the storage term of your dried cannabis and will be pleased with the quality of marijuana. It does not matter if you are going to use cannabis for fun or for medical purposes. Just be sure that high-level weed will contain more pain-killing, calming, and other healing agents.
Tip 1: Be Sure That Plants Are Dried Enough
Do not use poorly dried plants for curing. You will be disappointed with the final result. The storage terms will be short. Additionally, the contents of this weed will be insufficient for treatment courses. It goes without saying that using such marijuana is dangerous for human health. Any consequences can take place.
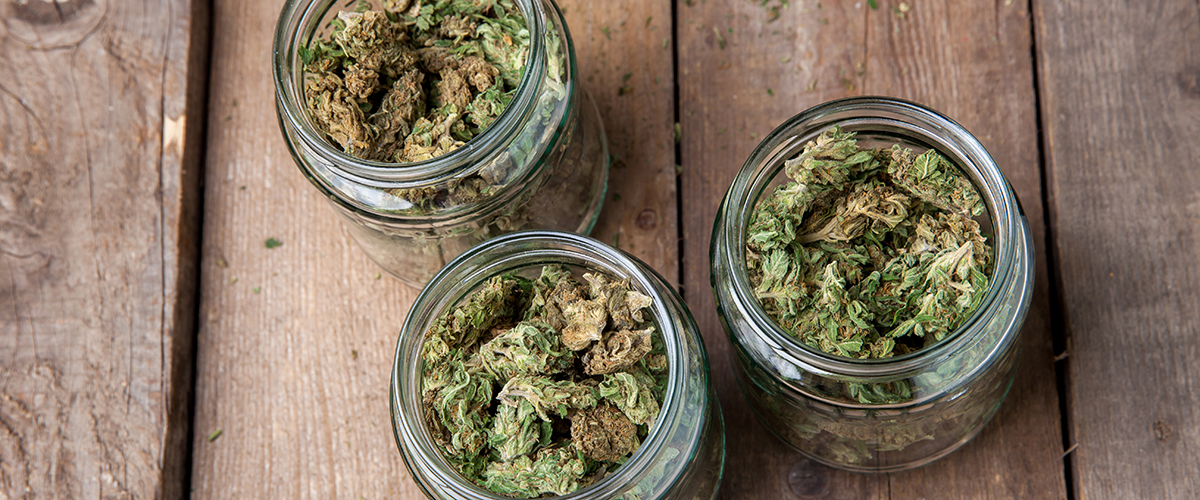
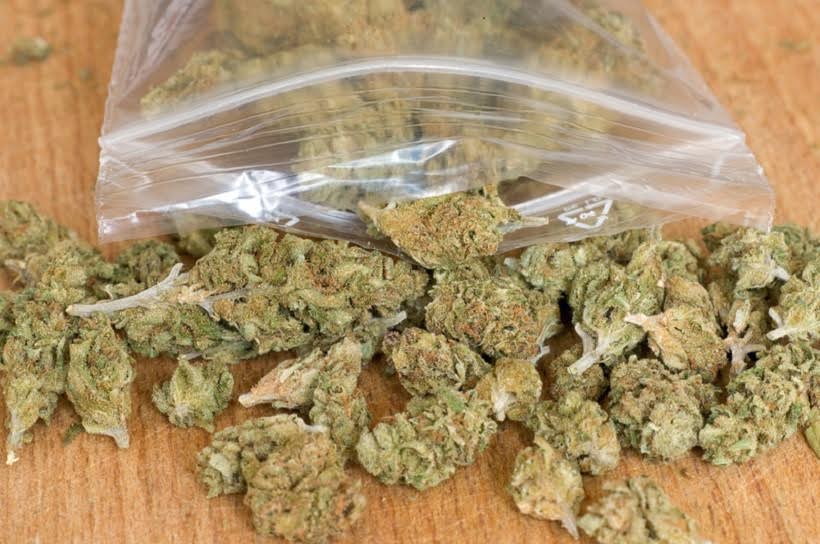
Tip 2: Select Great Curing Jars
To start the curing process when your weed is dried, it is necessary to pick sides with special-purpose boxes. For example, cannabis can be put inside specific jars, totes, and bags. Note that during the curing process, your weed is locked in cannabinoid and terpene profiles. One of the most active agents in this procedure is 100% organic material that takes part in synthesis. A proper curing jar is about:
- The possibility to get various chemicals around the clock;
- Ever-changing flavors according to the weed curing gradation;
- The opportunity to bend stems with the optimal moisture content;
- Other individual properties of the final product.
Finally, great curing jars allow growers to provide customers with cannabis ready-to-smoke and add to any therapies. It is worth noting that this marijuana will be of the highest quality and with the best-matching parameters (like moisture content, weed flavor, etc.).
Tip 3: Explore Alternative Curing Appliances to Choose from
It is worth noting that curing jars are not the only way to run this process. For example, there are bags, plastic bins, steel tins, totes made of different materials, turkey bags, and many more as an alternative ways to cure your cannabis. Nevertheless, you should understand all the cons and pros of each model you are interested in.
For example, wooden trays will add some extra flavor to the dried weed you are going to cure. But steel and plastic jars or tins will be more reliable for short-term curing and a great final result. Each curing jar has its own strengths and weak spots to take into account. Pay attention to these aspects. For example, some jars help to release extra moisture faster while other models are focused on CO2 gas release.

Tip 4: Know Well How to Use Curing Jars
One of the best-matching formats is a wide jar with great airtight properties together with blocked-out light inside the box you use for curing. This way no sunlight and CO2 gasses will hit the weed and spoil its quality as the final product everyone would like to get. That is why dry cure algorithms are almost the same like old-school growers had several decades ago.
Additionally, do not forget about the best-matching environment you place the jar in. Even if you have the best inventory for curing, too wet microclimate indoors or too sunny outdoors can harm your weed. Even the tiniest particles of sunlight and CO2 gasses can ruin your progress and decrease the quality of your ready-to-use cannabis.
Note that the optimal temperature regimen is about 65-700F. The humidity that is required for the procedure is about 59-66%. If these parameters are OK, you should just keep calm and wait for the curing process to complete.
Tip 5: Pick Sides with the Best Curing Jar Material Finally
Some experienced growers state that the best materials for curing jars are plastic and glass. They’re almost ever-standing and suitable for weed of any sort. But if we compare plastic and glass jars, which one to select? The distinctive features should be taken into account. For example, some chemicals can be sucked by plastic agents. That is why the contents can suffer from plastic-driven changes that touch volatile agents and terpenes.
That is why glass jars are on-demand among weed lovers. Note that additional flavors are added by steel tins and wooden trays. These alternative options can make a difference when it comes to the blend, flavors, and density of the weed in the smoking substances.


